| Tower installation started prior to residence being built, because we needed
access to back of property without construction material and site making it
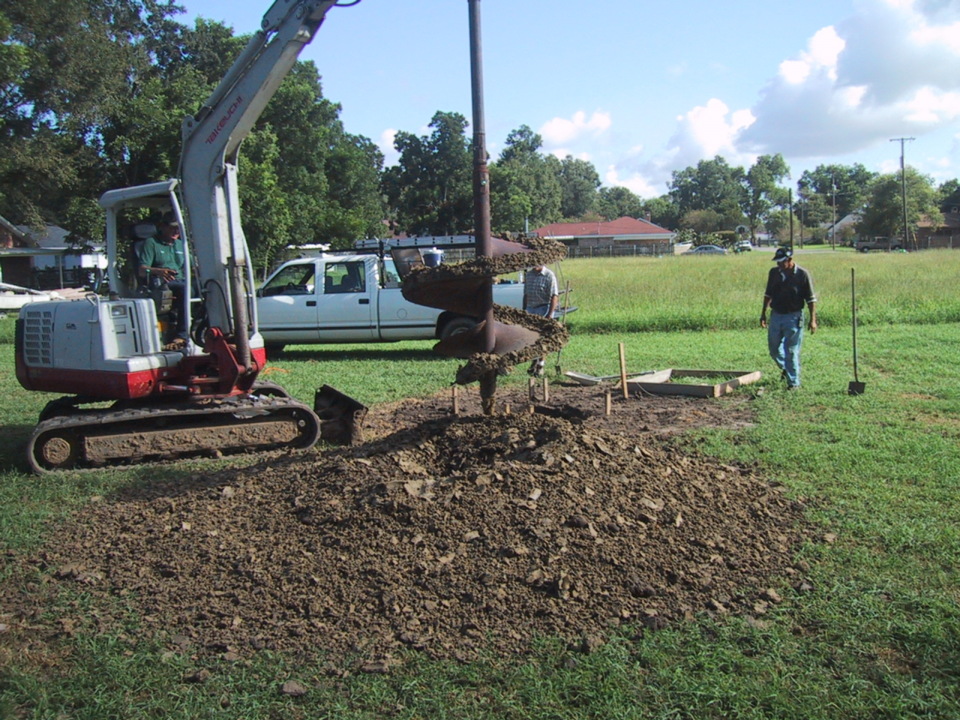
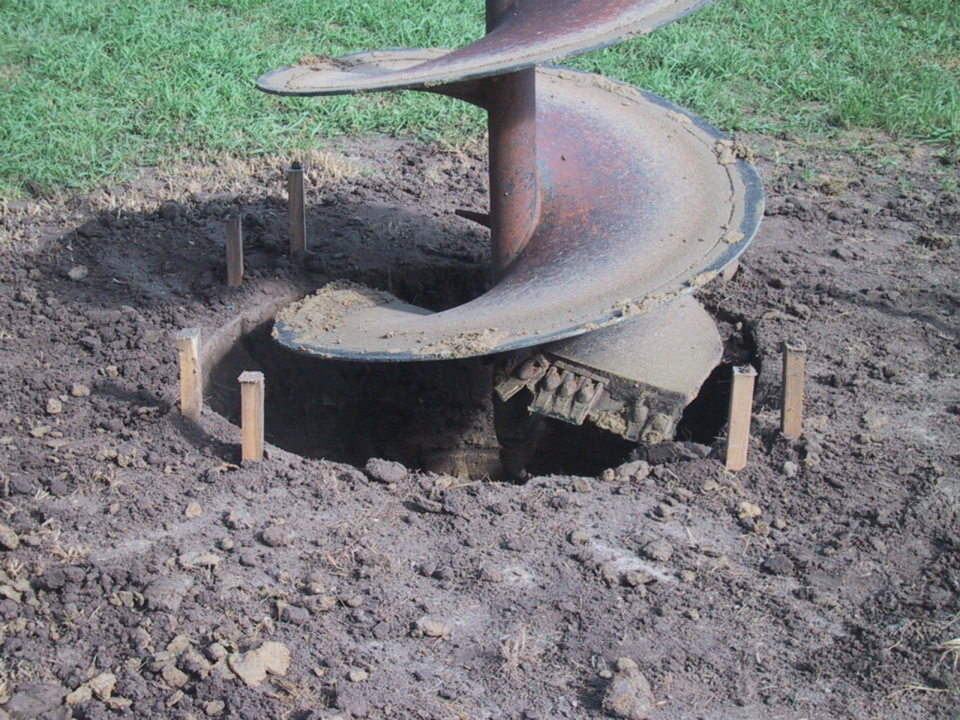
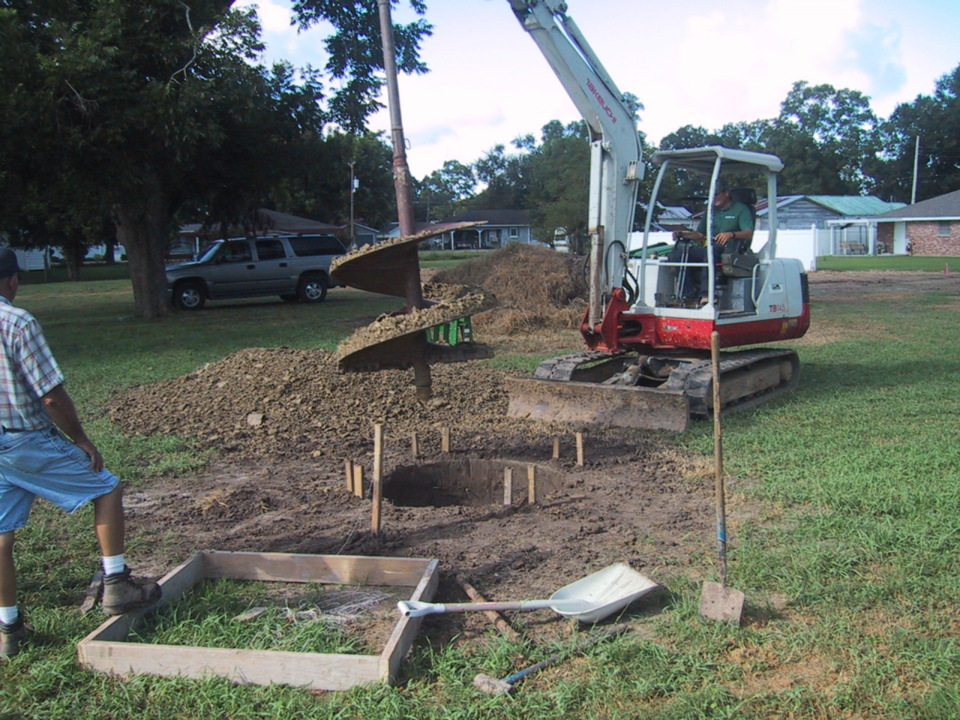
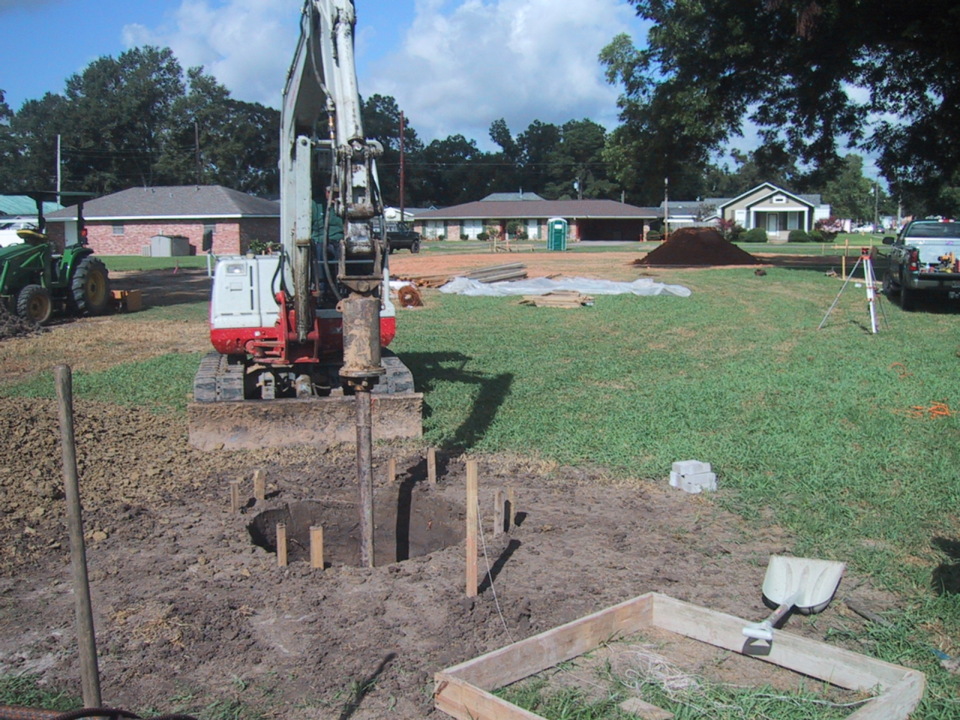
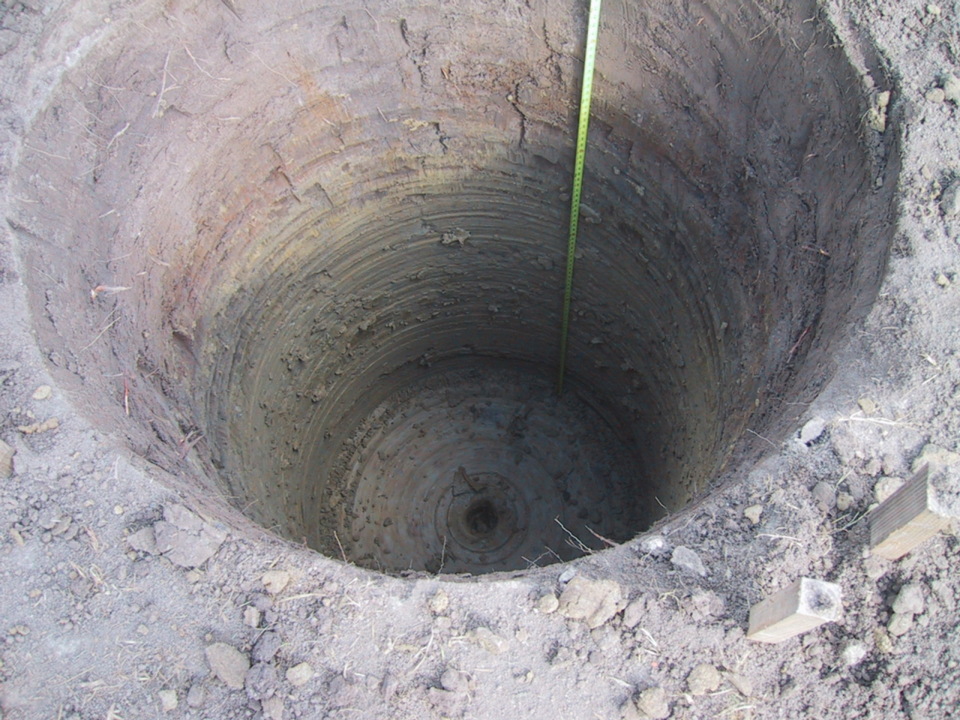
difficult. The first part of the tower construction involved having a hole dug for the
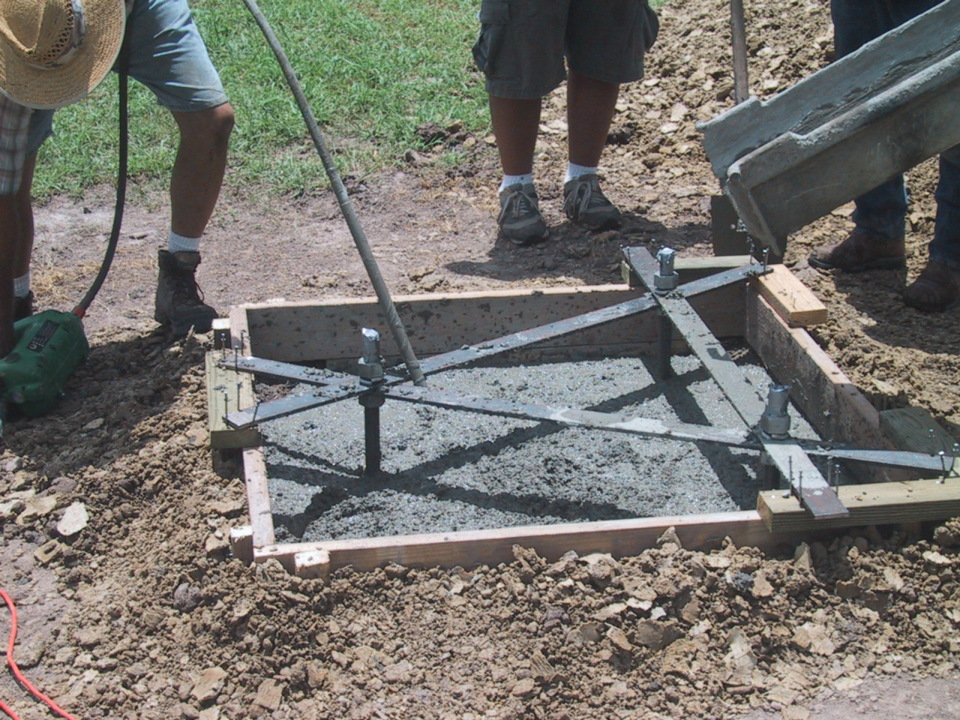
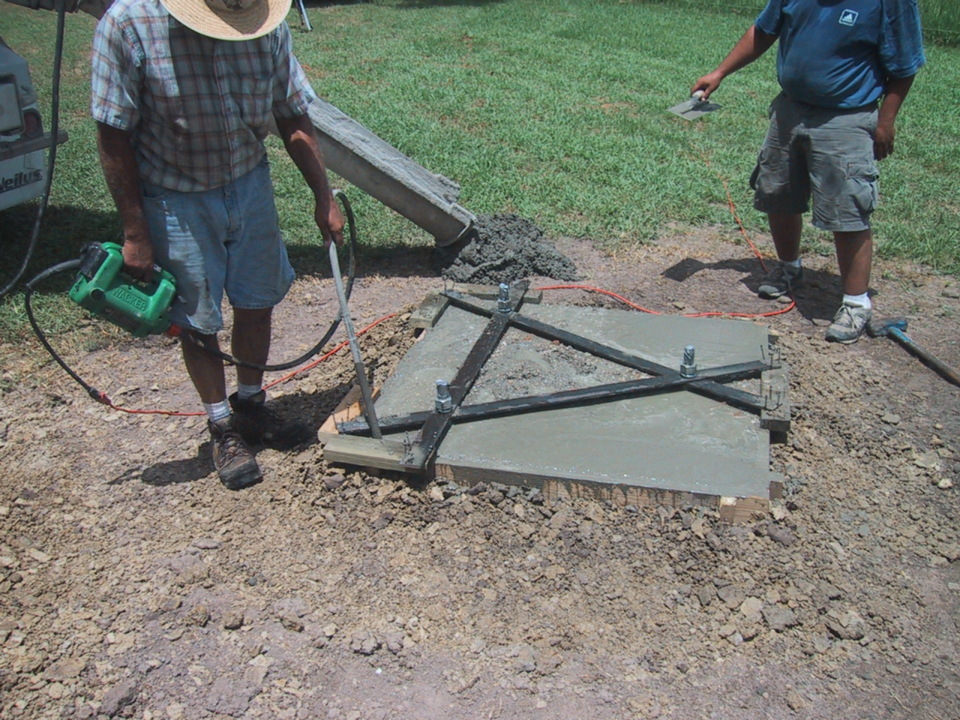
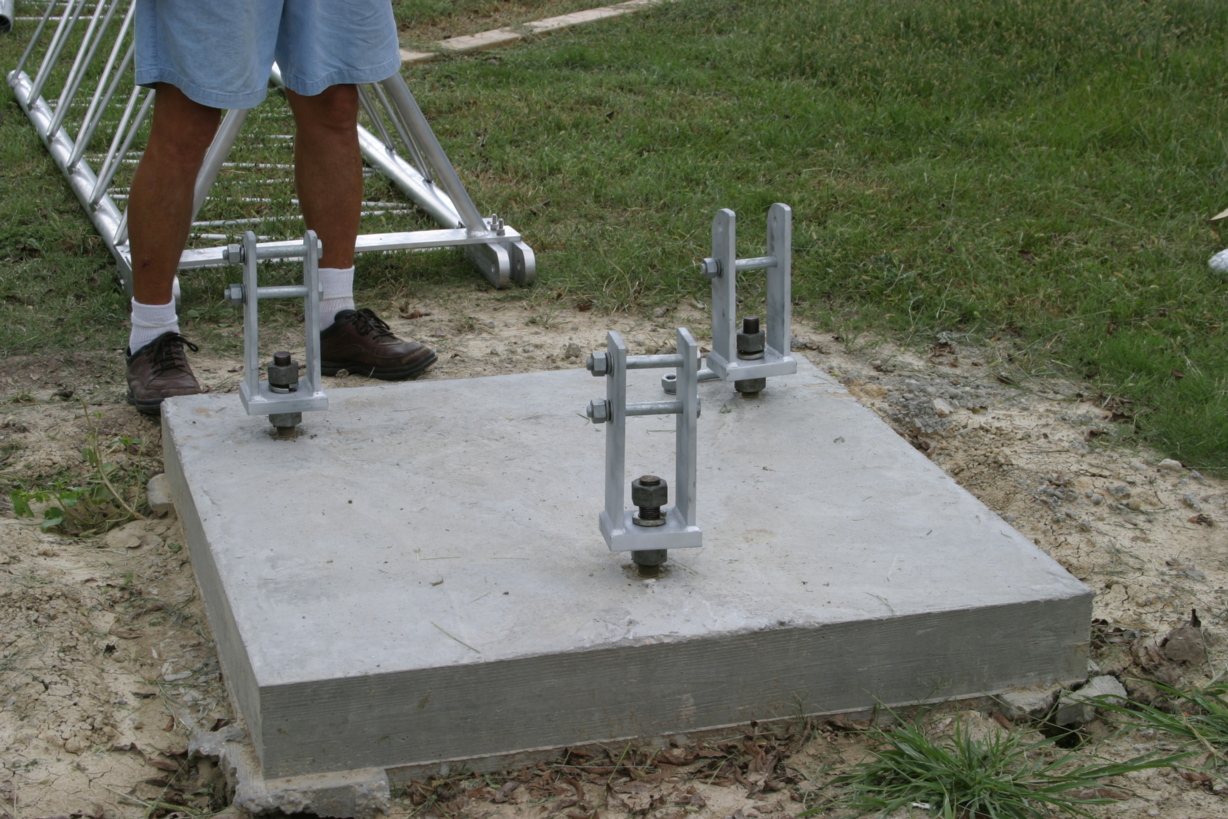
installation of rebar and building a concrete tower pad. On July 22, 2004
construction of the tower pad began. Digging of the hole was made very easy with
the work of earth drill. Hole was dug to a depth of 8 ft. 2 inches and a
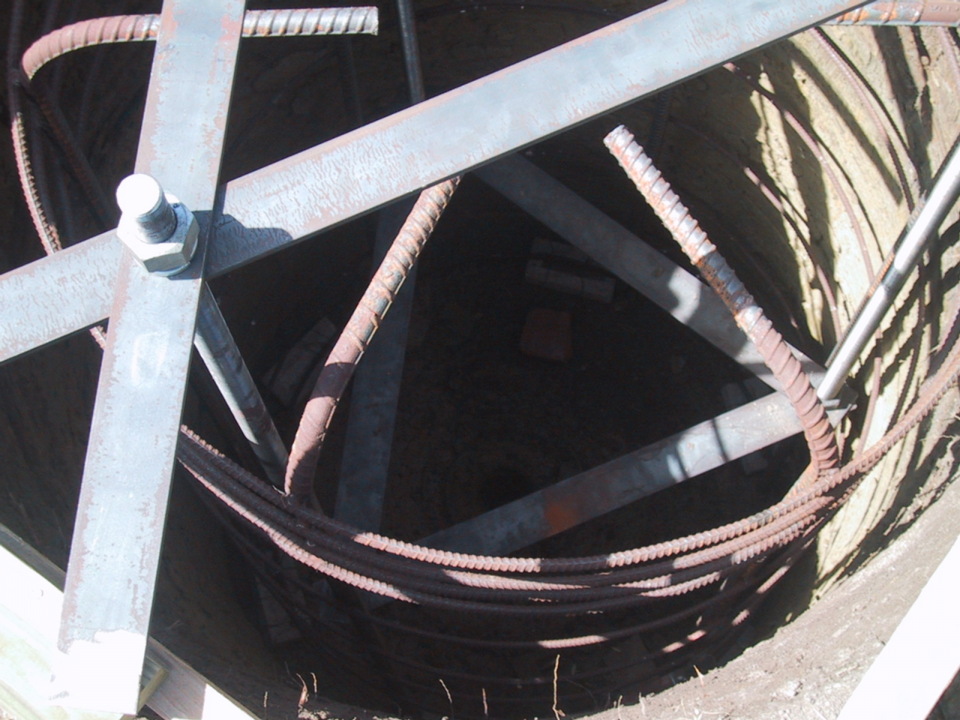
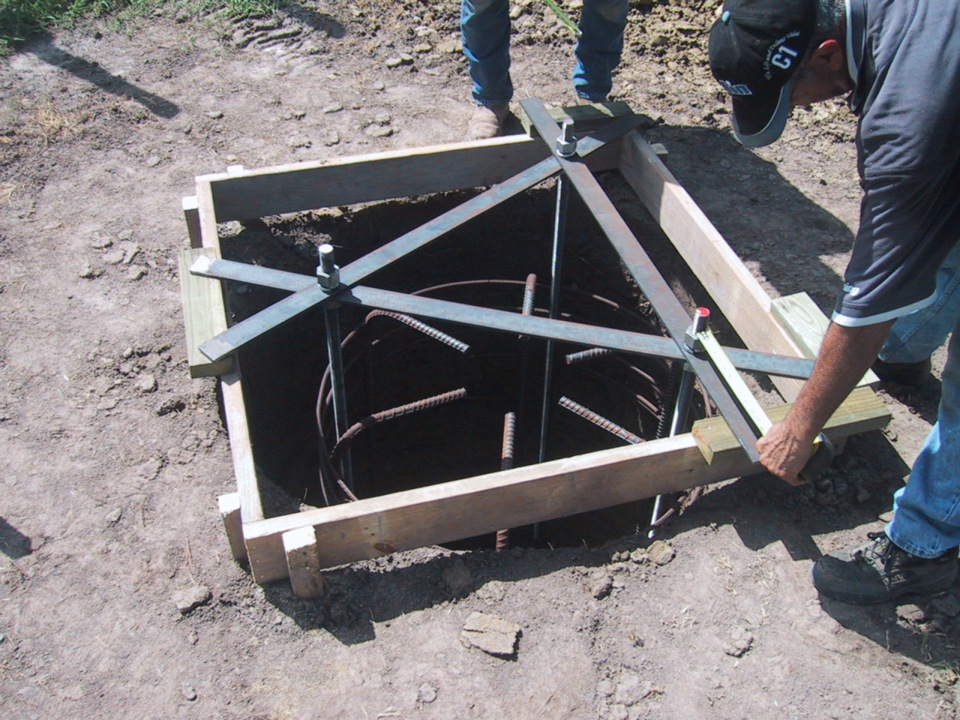
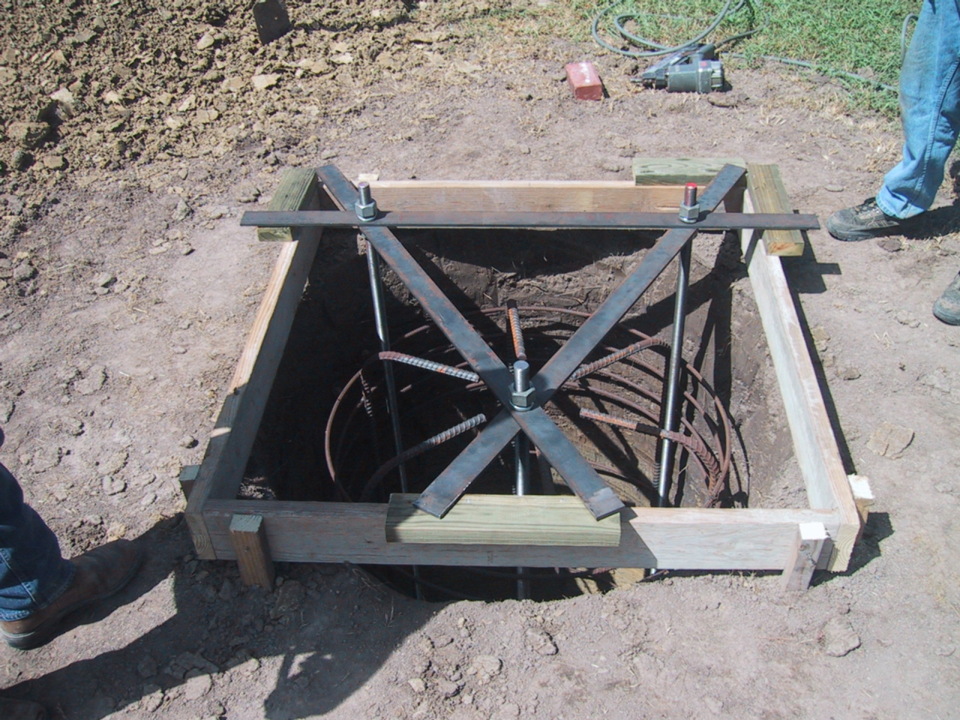
diameter of 4 ft. The rebar was set into the hole over some brick supports to
keep the rebar off of the ground. As concrete was poured, a vibrator was used to
assure no air pockets would develop. You can follow development below:
|
|
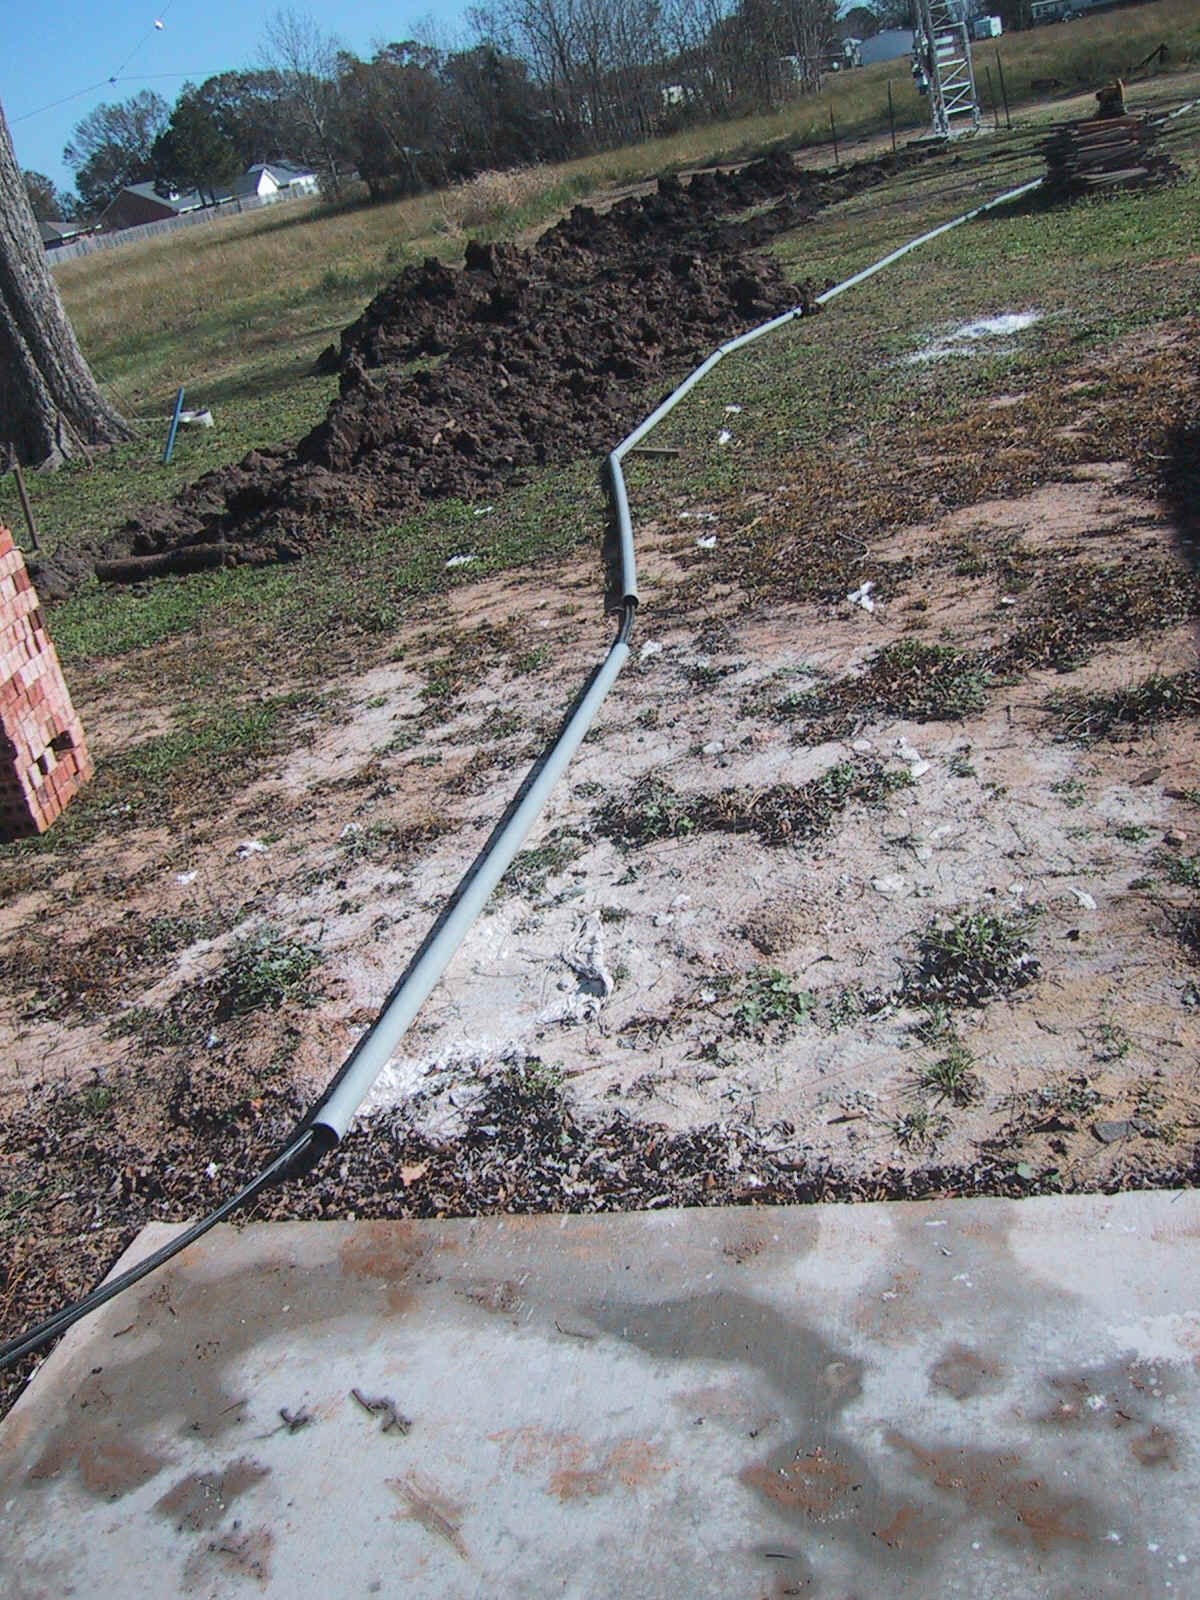
The next step in the installation was running 4" PVC
conduit from the house to the tower. I needed electricity at the tower also, so
I ran a 1" electrical conduit, 4" PVC conduit and a 2" PVC
conduit. In the 2" PVC conduit in ran 2 1/2 inch Heliax cables for the main
operations. In the 4" PVC, I ran control cables for rotor and antenna
switch, plus an extra control cable and two 50 ohm Davis RF Bury-flex cables for
future use. The future use cables are extras at this time, but may be placed in
service as antenna farm grows.. Hi!
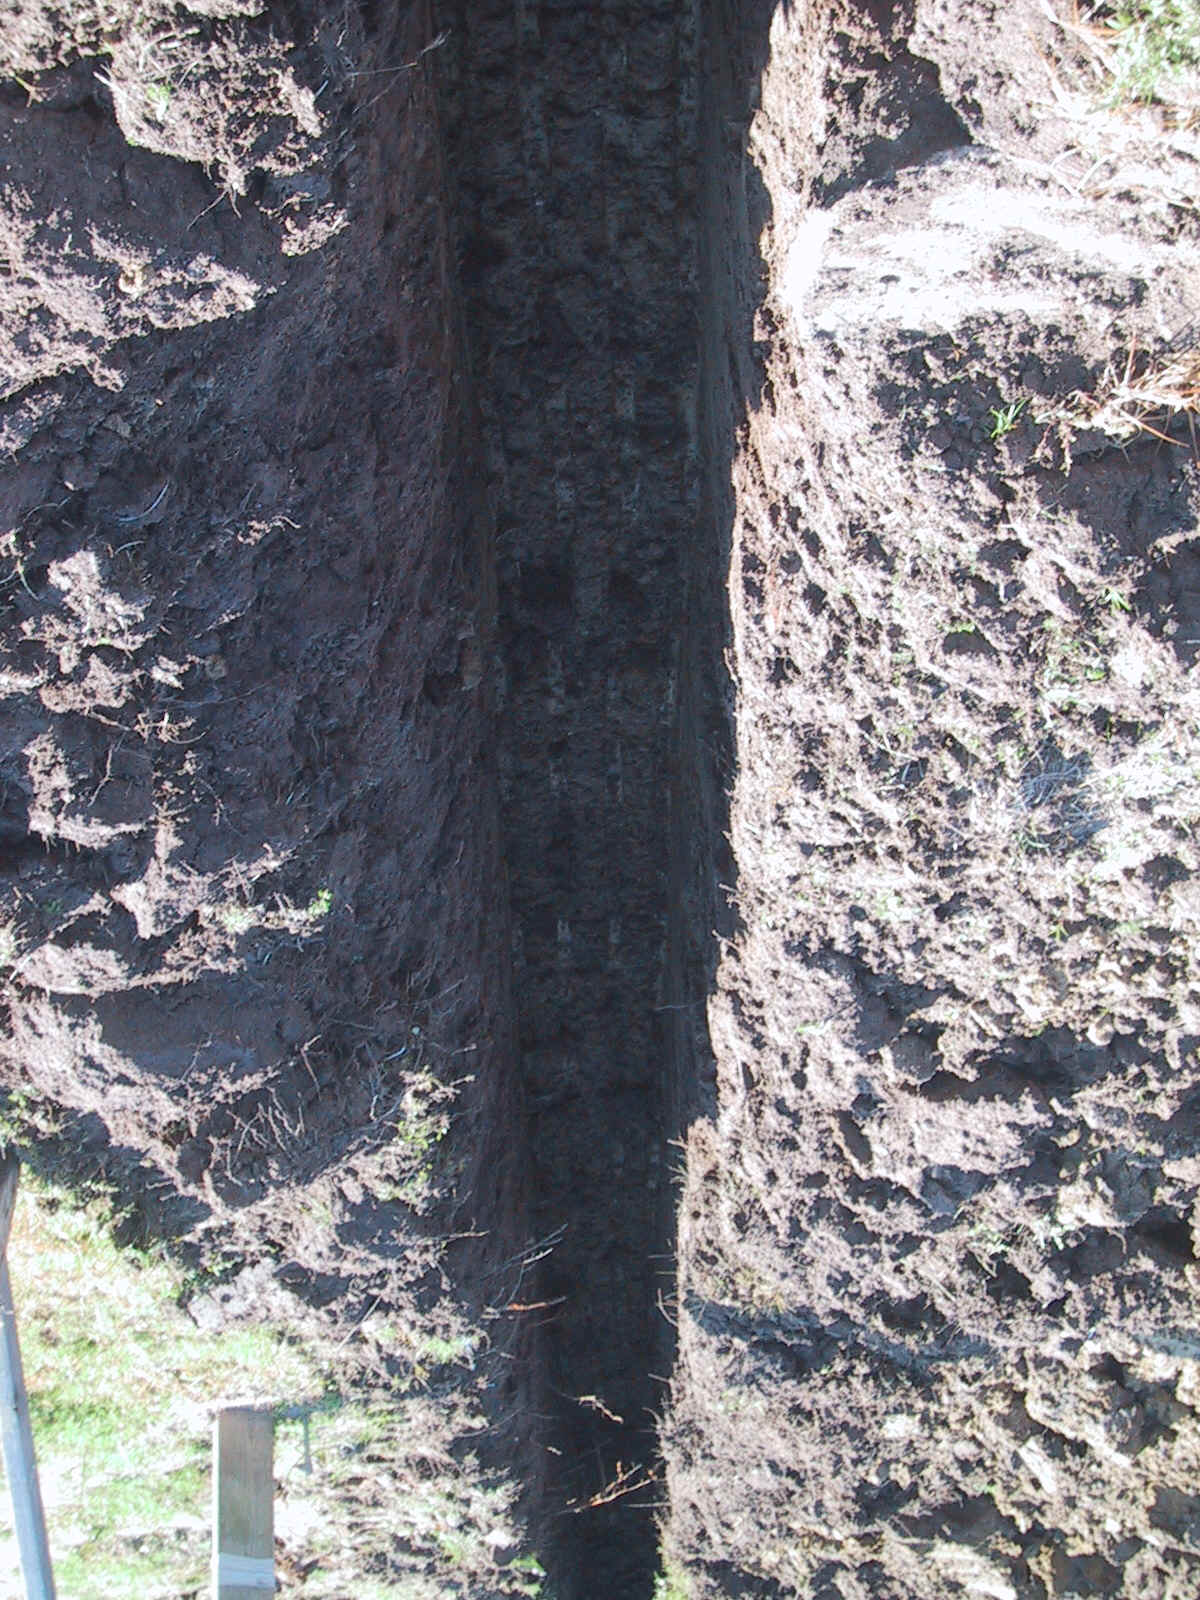
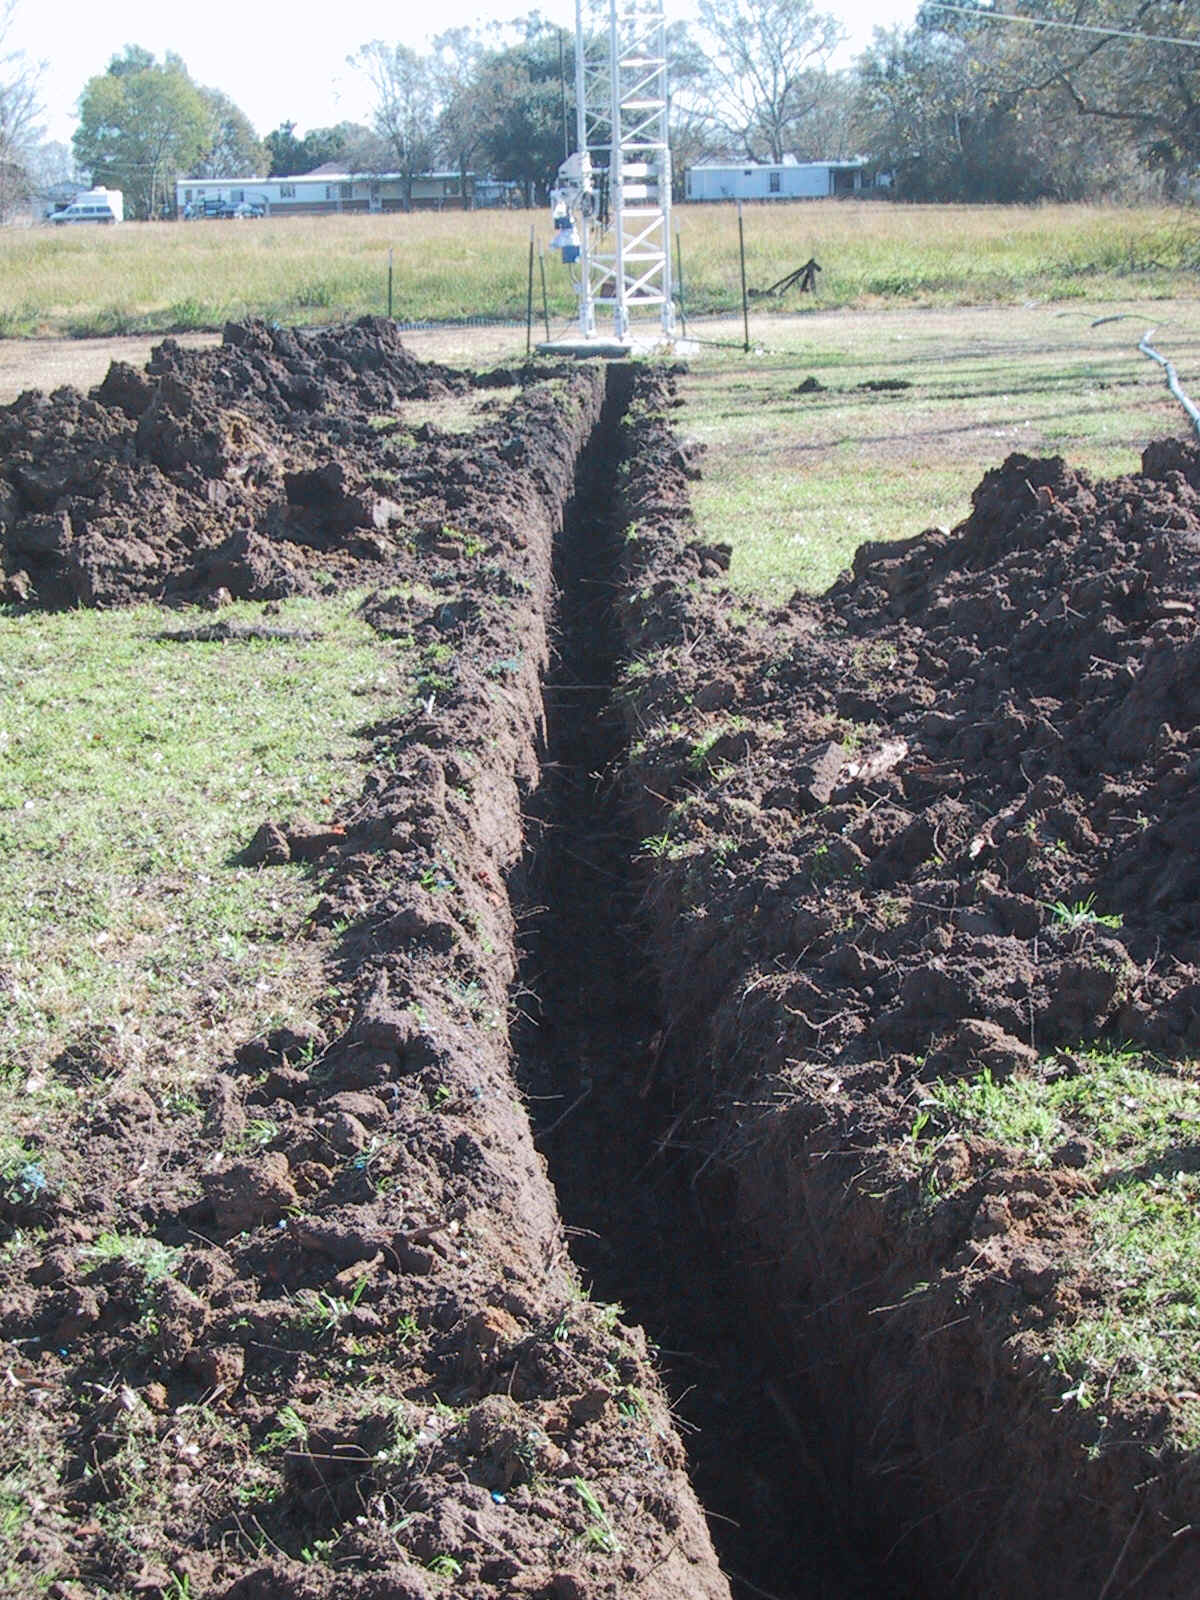
When excavating the trench to lay the PVC pipe in, we were at
36" depth at each end and 48" depth in the middle. Prior to laying
PVC, l layed a bed of peat gravel at the 48" depth allow water drainage
from PVC to occur. Small holes were drilled in PVC at that 48" depth point
and wrapped in brass screen. This procedure allows any water buildup to exit
from the weep holes into the gravel bed. Our water table is much lower than the
48" depth, so that causes no problem. Below are pictures of excavation:
|